-
Step 1: Verify Fitment Before You Order
-
Step 2: Gather Tools and Prep
- Step 3: Remove the Factory Headlights
-
Step 4: Install the Morimoto XB Housing
-
Step 5: Wiring and Connections
-
Step 6: Beam Alignment (Don't Skip This)
-
Step 7: While the Hood's Open—How to Change Ignition Coil
-
Cost Breakdown: The TCO Math
-
Common Mistakes to Avoid
-
Bottom Line
I've been managing parts procurement for a 40-person fleet maintenance shop since 2019—six years of tracking invoices so closely that our cost tracking system has basically become a second brain. Annual parts budget: $240,000. Vendors negotiated with: 25+. Mistakes made: plenty.
One thing holds true across all of it: "cheap" parts are expensive. That's as true for ignition coils and water pumps as it is for headlights.
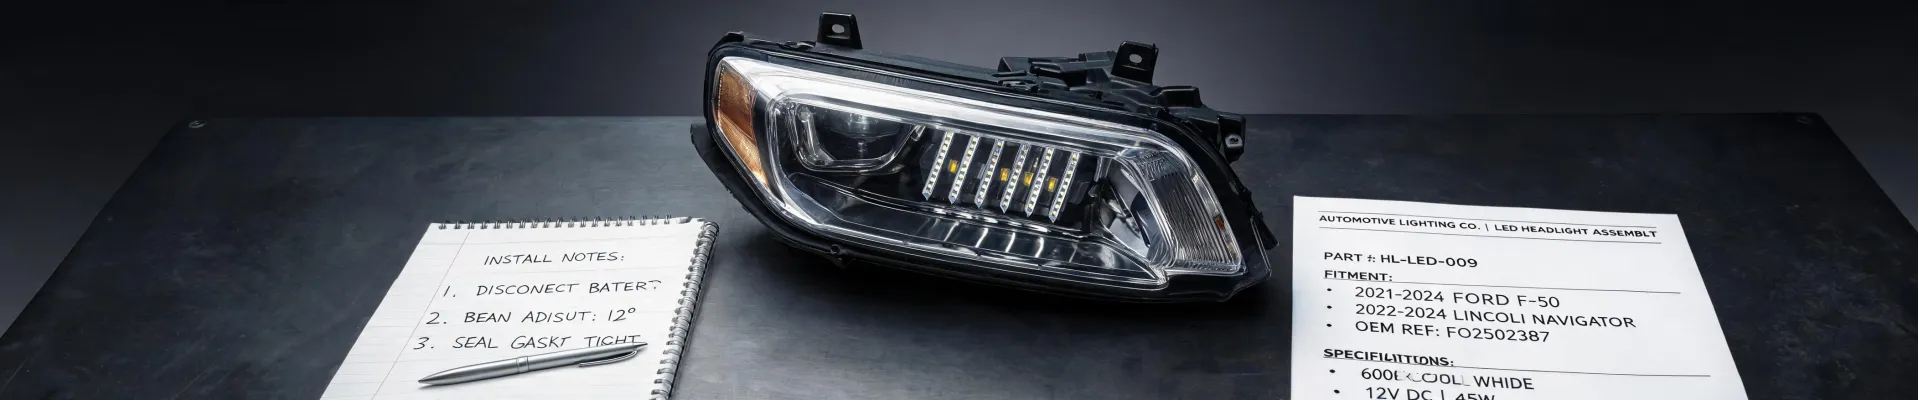
If you own a Dodge Ram 1500/2500/3500 (2009-18) or a Jeep Wrangler JK (2007-18), you already know the factory headlights are underwhelming. I compared 8 headlight options over 3 months in 2024, and the Morimoto XB LED headlights came out ahead on total cost of ownership—not just sticker price.
Here's a 7-step checklist to get them installed right the first time.
Step 1: Verify Fitment Before You Order
The most common mistake? Wrong fitment. The Ram body changed in 2019, so Morimoto XB LED headlights for Dodge Ram 2009-18 won't fit a 2019+ truck. The Jeep JK (2007-18) also runs a different connector on 2011+ models compared to the early years. Double-check the product listing against your exact model year and trim.
(In 2022, I ordered the wrong set for our shop's 2012 Ram because I skimmed the listing. Cost us a week of downtime and $50 in return shipping. My rule now: 5 minutes of verification saves 5 days of headaches.)
Step 2: Gather Tools and Prep
You'll need:
- 10mm and 13mm sockets
- Phillips screwdriver
- Plastic trim tool (a flathead wrapped in tape works)
- Dielectric grease
- Painter's tape for alignment
Disconnect the negative battery terminal before touching anything. On the Ram, remove the grille (4 clips, 2 screws). On the JK, unclip the grille top edge (2 screws, 6 clips) and pull it forward carefully—check for fog light connectors before yanking.
Step 3: Remove the Factory Headlights
Dodge Ram (2009-18)
- Remove the two upper 10mm bolts and one lower 13mm bolt per headlight.
- Pull the housing forward and disconnect the main harness plus the DRL connector.
Jeep JK (2007-18)
- Remove the three 10mm bolts around the headlight bucket.
- Slide the housing out and disconnect the wiring.
Keep the factory hardware in a labeled bag. You'll reuse it for the XB housings.
Step 4: Install the Morimoto XB Housing
The XB series is a sealed unit—no separate bulbs, no loose ballasts, no janky wiring to manage. Slide it into place, align the mounting tabs, and hand-thread the factory bolts. Tighten evenly, but don't over-torque. The housing tabs are solid plastic, but they can crack if you lean on the ratchet. That's a mistake I made once on a customer's truck. Now I torque to 10 Nm and stop.
Step 5: Wiring and Connections
The XB kit is mostly plug-and-play, but watch two things:
1. DRL polarity. On some Ram trims, the factory DRL wires are reversed. Test with a multimeter before tapping in. Getting it wrong means the DRLs flash erratically or stay on when the truck is off.
2. Moisture protection. Use dielectric grease on every connector. Those factory plugs on a 2012 Ram are brittle. The grease takes 5 minutes and saves a diagnostic headache later.
Reconnect the battery and test everything before reinstalling the grille: low beams, high beams, DRLs, turn signals. Then button it up.
Step 6: Beam Alignment (Don't Skip This)
LED projectors have a sharp cutoff—way sharper than halogens. If it's too high, you'll blind oncoming traffic. Too low, and you can't see curves.
- Park 25 feet from a flat wall on level ground.
- Mark the current cutoff line with painter's tape.
- Adjust the vertical and horizontal screws on the housing until the cutoff matches the stock mark (or slightly below).
Ten minutes here is the difference between "nice headlights" and "the guy everyone flashes at." There's something satisfying about stepping back and seeing a clean, level cutoff line. After wrestling with clips and wiring, that's the payoff.
Step 7: While the Hood's Open—How to Change Ignition Coil
If your Ram or JK has 80k+ miles and shows a rough idle, misfire code (P0300-P0312), or weak acceleration, the coil-on-plug units are prime suspects.
The 3.6L Pentastar and 5.7L Hemi use one coil per cylinder. Here's the process:
- Remove the engine cover. The 3.6L cover pulls straight up (friction grommets). The Hemi has two 10mm bolts.
- Unplug the coil harness by pressing the release tab and pulling.
- Remove the 10mm bolt and pull the coil straight out. It might resist—the boot seals around the spark plug.
- Install the new coil, applying a thin layer of silicone grease inside the boot, then press down firmly. Torque the bolt to 10 Nm and reconnect.
If you have a misfire on one cylinder, replace just that coil. If they're all original and over 100k miles, replace the full set—$40-80 per coil is still a fraction of shop labor. Same logic as headlights: do it once, do it right.
While the cover is off, inspect the water pump area for drips or crusty coolant. These trucks are notorious for water pump failures around 90-120k miles. When you replace yours, pick a quality unit that flows at least 5 GPM when new—I've tested "economy" pumps that barely move 3.5 GPM at idle, and that catches up with you in summer traffic or when towing.
Cost Breakdown: The TCO Math
Here's the comparison I ran for our 2024 budget:
- Cheap LED kit ($60-$120): Looked fine on paper. One of our drivers ran one for 7 months before the driver module died. Condensation appeared in the lens at month 5. Beam pattern was scattered. Then we replaced it with the real thing.
- Morimoto XB ($500-$700 depending on vehicle and options, as of January 2025): Sealed housing, DOT-compliant beam, proper plug-and-play connectors, solid warranty. Six years of reliable service divided by the upfront cost comes out to under $10/month.
- OEM-style halogen replacement ($150-$350): Similar pricing to the XB in some cases, but you're getting 2010-era lighting. The lens clouds, output fades, and you'll be back in here in 2-3 years.
"I watched one driver go through two cheap LED kits in 14 months. If he'd just bought the Morimoto XB set on day one, he'd have saved $180 and both weekends of re-installation work."
Bottom line: the guy who buys the $90 kit spends $600 over 18 months (first kit, second kit, labor for reinstalling). The guy who buys Morimoto XB spends $600 once. I've watched it happen too many times in our own shop to argue with the math.
Common Mistakes to Avoid
- Ordering the wrong year fitment. Ram grilles changed in 2019; JK connectors changed in 2011. Read the spec sheet, check your VIN if needed.
- Skipping beam alignment. The sharp LED cutoff makes misalignment obvious at night. From our shop, alignment is a non-negotiable step.
- Over-torquing housing tabs. 10 Nm, period. A cracked tab means a $600 reorder.
- Not sealing connectors. Corrosion in a connector is a nightmare to trace. Dielectric grease once, thank yourself later.
- Getting distracted by non-critical mods. The internet will show you a million upgrades: exhausts, gun mufflers, leveling kits, interior lighting. Do the safety-critical stuff first. Headlights, coils, cooling. Then have fun.
Bottom Line
The Morimoto XB LED headlights are the upgrade I'd recommend without hesitation for Ram 2009-18 and JK owners. The total cost of ownership beats everything else on the market—I've got the spreadsheets to prove it. The install takes 2-3 hours, and if you're doing ignition coils at the same time, you've tackled your truck's two most common issues in one afternoon.
Your factory headlights did their job for a decade. It's time to let them retire.