-
1. Verify Part Numbers and Revision Levels Before Anything Else
-
2. Check Critical Dimensions
-
3. Inspect Surface Finish and Coating
-
4. Verify Electrical and Interface Compatibility
-
5. Test Fit and Seal Functionality
-
6. Confirm Materials, Certifications, and Traceability
-
7. Document Results, Quarantine, and Decide
-
What Most People Miss
-
One Honest Caveat
If you're the person stuck signing off on inbound automotive parts, you know the feeling: the component looks right, the paperwork is there, but you're not 100% sure it's not a ticking warranty claim. This is the checklist I use for incoming inspection—whether it's a set of Morimoto C6 Corvette headlights or a batch of catalytic converters. It's not a replacement for a full PPAP, but it's the practical screening that catches most problems before they reach your line or your customer.
This checklist is for anyone doing visual, dimensional, and basic functional verification: OEM quality engineers, aftermarket distributors, and shop owners who're tired of returns. There are seven checks. I've built this list over 5 years and about 300 part numbers, and it's changed after more than one expensive surprise.
1. Verify Part Numbers and Revision Levels Before Anything Else
The biggest mistake I see is treating the box label as gospel. For example, Morimoto C6 Corvette headlights come in multiple versions for different model years. A 2005-2007 housing looks nearly identical to a 2008-2013 one, but the wiring and mounting brackets can differ. If you don't confirm the revision, you're one snapped connector away from a $600 mistake.
The same goes for spark plug helicoil kits. Check that the thread size, pitch, and insert length match your service spec. I've had a kit with the right part number but an old revision—the insert was too short and wouldn't reach the plug threads. The label said 'M14-1.25,' but the insert was a previous design. Don't trust the label; compare against the actual print or OEM manual.
2. Check Critical Dimensions
Once the part number matches, pull out the calipers. For headlight assemblies, measure the mounting boss locations and the lens perimeter profile. For catalytic converters, check the flange flatness and pipe outside diameter. A 0.5mm mismatch on a flange is enough to cause an exhaust leak.
For thread repair kits, use a go/no-go gauge on the tap and the insert. I've seen inserts that measured within diameter spec but had such tight coil spacing that the tap couldn't thread through. That's a dimensional issue you can't catch with a ruler. When in doubt, test on a scrap piece before committing.
Should mention: make sure your measurement tools are calibrated. I know it's boring, but a drifting caliper can send you down the wrong rabbit hole for hours.
3. Inspect Surface Finish and Coating
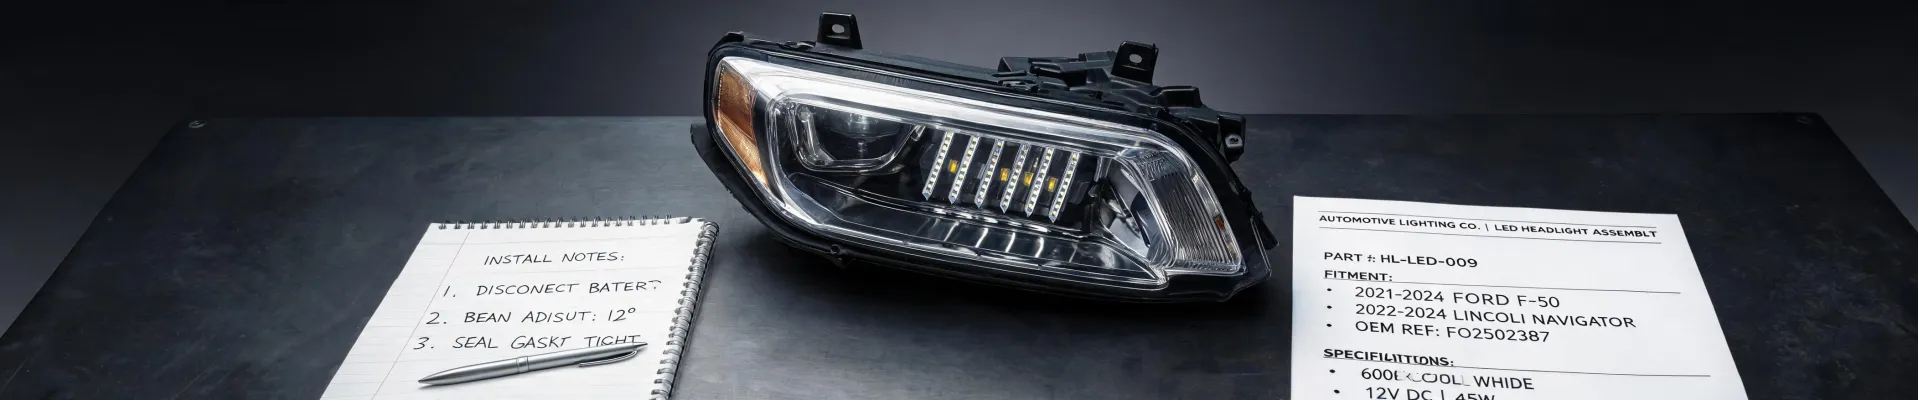
Surface quality isn't just cosmetic—it's a predictor of durability. On Morimoto XB LED headlight assemblies, check the lens for fine scratches, hazing, or bubbles in the sealant. Check that the vent tube isn't kinked and the gasket sits evenly in its groove. A headlight can look fine on the bench and still let water in six months later.
For catalytic converters, look for weld spatter and scale that could flake off and plug the substrate. On thread repair inserts, the wire finish should be smooth and consistent. Rough edges on the insert can tear into aluminum threads during installation. If the finish is questionable, I'd reject it, even if the dimensional checks pass.
4. Verify Electrical and Interface Compatibility
Actually, this step catches more cross-functionality mismatches than you'd think. On an LED headlight, confirm the connector pinout is correct for the vehicle's harness. A lot of aftermarket headlights come with adapter cables, but adapters sometimes change the pin mapping. If you're working with a smart thermostat like the Honeywell T6—which I've seen used in custom RV and marine cabin controls—verify the model is the right one for 24V systems and the correct number of heating/cooling stages. Getting that wrong won't just fail to work; it can fry the board.
For spark plug thread repair kits, the interface check is usually mechanical, but also verify that the insert installed leaves enough thread protrusion for the spark plug. It's not an electrical issue, but it'll feel like one when the cylinder misfires.
5. Test Fit and Seal Functionality
I used to think dimensional checks were enough. Then in 2023, we passed a batch of Morimoto C6 Corvette headlights that fit fine in the shop but let in water after a rainstorm. The problem: the vent tube was oriented too high, allowing moisture to accumulate in the housing. We added a simple water mist test to our procedure, and it's caught similar issues on two shipments since.
If you're testing catalytic converters, bolt one to a scrap flange to confirm alignment. You don't need to run the engine—just check that the bolts thread freely and the sealing faces meet. For thread repair kits, do a test install in a spare cylinder head or a threaded block. If the insert coil is too tight or too loose, this is where it shows up, not on a spec sheet.
6. Confirm Materials, Certifications, and Traceability
For safety-related parts, ask for material certificates or at least a declaration of conformity. IATF 16949:2016 certified suppliers are preferred for production parts, but even for aftermarket components, basic ISO 9001 certification is a good baseline. If a supplier can't provide certificates, that's a red flag.
For catalytic converters, if you're buying a bare substrate, check the cell count and coating spec against your application. A catalytic converter does its job only if the precious metal loading and substrate are correct. Without traceability, you're essentially trusting the seller's word. Same for helicoil inserts: they should be 304 stainless steel, not an unknown alloy. Look for lot numbers on the box or insert packaging and record them in your inspection log.
7. Document Results, Quarantine, and Decide
This is the step I'd skip when I was less experienced. Now I record every inspection with photos, measurements, and the decision. If a sample fails, quarantine the entire lot, not just the unit. In March 2023, we rejected a batch of LED headlights because two had cracked housings. The supplier argued it was single-piece shipping damage. But because we'd quarantined the lot, we found that 60% of the boxes showed signs of a tilted pallet. If we'd only swapped the two units, the rest likely would have failed later.
Documentation also makes your decision defensible. It's not about blaming the supplier—it's about having a clean record so your company doesn't absorb avoidable rework costs. In that 2023 case, the redo cost the supplier around $18k, not us. That's the outcome you want.
What Most People Miss
A few things I've learned the hard way:
- Checking sample condition, not shipment condition. The part can be perfect, but if the packaging is crushed, the entire lot is at risk.
- Verifying your own tools' calibration dates. An uncalibrated caliper will lead you to either reject good parts or accept bad ones.
- Trusting 'inspected by' stickers. I found a thread repair kit marked 'inspected' with a missing insert in the package. It happens.
- Not re-testing after long storage. Rubber seals can shrink, and metal parts can corrode, even in indoor storage.
- Assuming 'OEM equivalent' means identical. It rarely is, and that's usually fine, but only if you verify what the difference is.
One Honest Caveat
This checklist is designed for visual, dimensional, and basic fit checks. It won't catch EMC interference on LED headlights, or subtle metallurgical weaknesses in a catalytically coated substrate. For safety-critical, high-volume production parts, you need a full PPAP/FAI process with lab testing. In my experience, this checklist handles about 80% of common incoming inspection issues. The remaining 20% depend on your specific application—and the sooner you know your part's failure modes, the better.
My experience is mostly with mechanical and electro-mechanical parts; I can't speak to high-voltage EV component inspection. That world has its own additional standards and failure modes. As of Q1 2025, the standards I referenced are current, but always verify with your supplier or the latest IATF guidance. Things change.